MidJourney Aspect Ratio Explained
You’ve probably heard the term “aspect ratio” before. MidJourney AI uses aspect ratio as part of the prompt writing process.
With MidJourney, the aspect ratio is the width to height of your photo. It’s usually expressed as a number like 4:3 or 3:2, but there is a wide range of other sizes you can use as well.
Keep in mind that aspect ratio parameters get normalized during processing. For example, –ar 3:2 is the same as –ar 1920:1280 once you use the “Max Upscale” option. If you choose an aspect ratio that isn’t supported, MidJourney will choose the closest one so your results look as similar as possible.
Wondering how to use the aspect ratio parameter like a pro? Keep reading because in this article, I’ll explain the MidJourney aspect ratio and how to use it to get stunning AI artwork results!
UPDATE: MidJourney updated V5 and Niji aspect ratios!
V5 now supports ANY aspect ratio, as long as it’s a whole number. They also improved composition and quality with wide aspect ratio images.
Why Aspect Ratio Matters with the MidJourney AI
Using dimensions in your MidJourney art will affect your final results. For example, if you want to create a full-body painting of an elf in Middle Earth, you’ll need to use an aspect ratio that’s taller than wider.
If you were to use the opposite, MidJourney would cut off the lower portion of the elf and give you the head-to-waist area.
Let’s try it out so you can see what I mean.
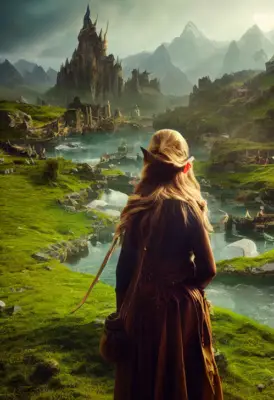
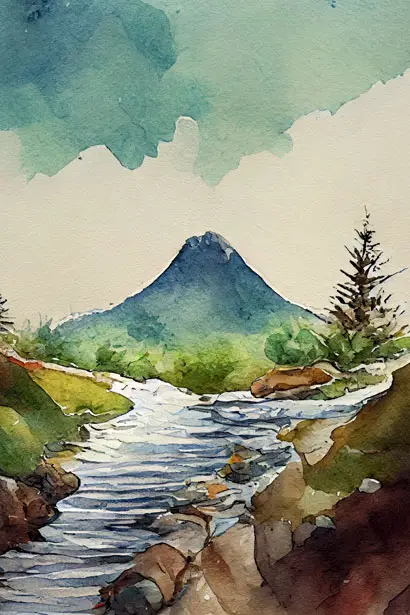
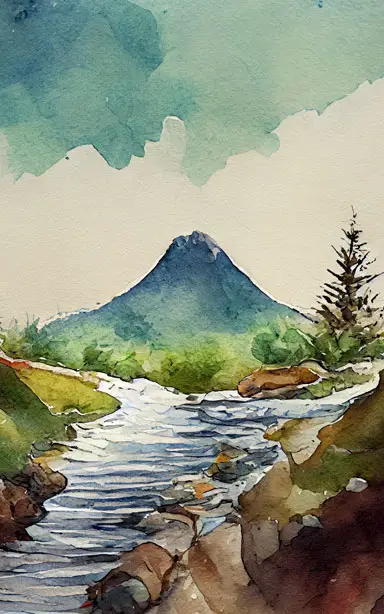
MidJourney Aspect Ratio Example 1: 9:16
Taller than Wide (Portrait)
Here’s MidJourney artwork of an elf in Middle Earth using the aspect ratio of 9:16. The prompt I’m using looks like this:
“
Concept art of a beautiful female elf holding a leather bag, intensely gazing into the camera, Middle Earth village in the background, --testp --ar 9:16”
Here are the results:
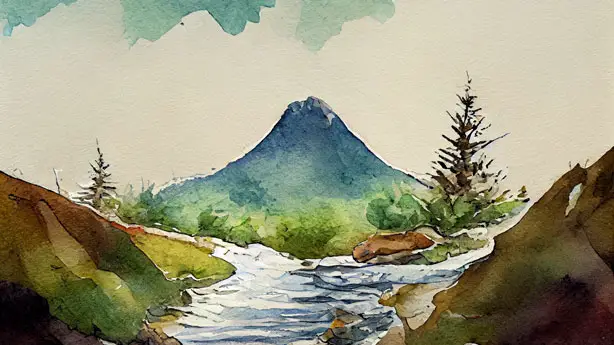
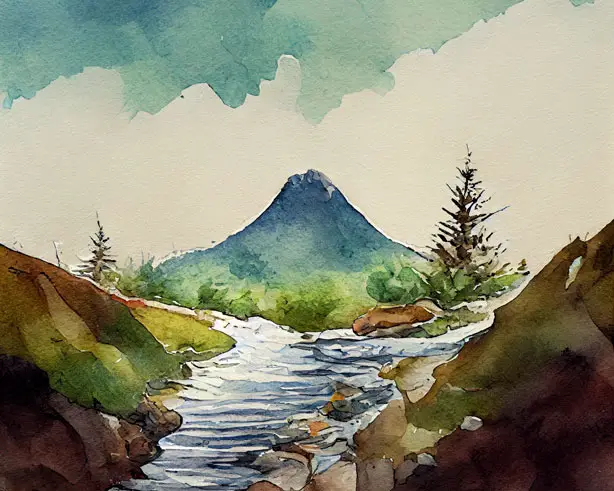
MidJourney Aspect Ratio Example 2: 16:9
Wider than Tall (Landscape)
Next, we’ll use the same prompt but with an aspect ratio of 16:9 instead:
“
Concept art of a beautiful female elf holding a leather bag, intensely gazing into the camera, Middle Earth village in the background, --testp --ar 16:9“
In contrast, here’s how MidJourney AI interpreted that:
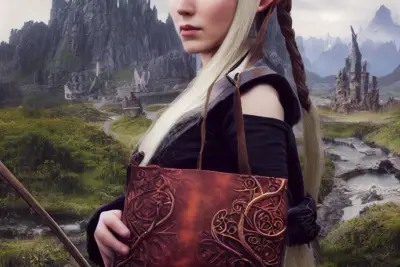
You can see by not allowing the AI enough height; the elf is cut off at the eyes.
MidJourney Portrait Aspect Ratio
When generating MidJourney art, specific styles work better in portrait size.
A portrait aspect ratio is best for:
- Book Cover Designs
- Pinterest Pins
- Social Media Posts
- Photographs of People
- Most Printable Art
- Close-Ups of Specific Features in MidJourney art
MidJourney Landscape Aspect Ratio
On the contrary, other images work best in landscape size.
The landscape aspect ratio is best for:
- Computer Wallpapers
- YouTube Video Thumbnails and Covers
- Facebook Cover Images
- Nature Scenes
- Concept Art
9 Examples of Common MidJourney Aspect Ratios
To use any of these size ratios in MidJourney, use this prompt:
--ar SIZE
Replace “SIZE” with whichever size you’re going for. Place it at the end of your prompt after you give the MidJourney bot details about your subject and scene. See my examples above.
I’ve specified the width and height before using the --w --h parameter, but the official word from MidJourney is to use --ar instead.
“Keep in mind that –ar is better supported and should be used in place of –w or –h” -MidJourney
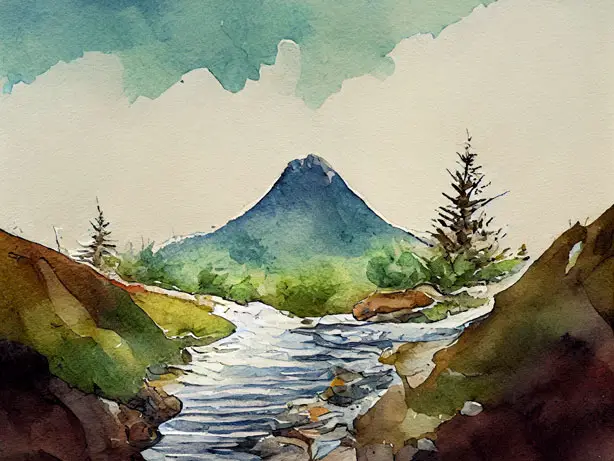
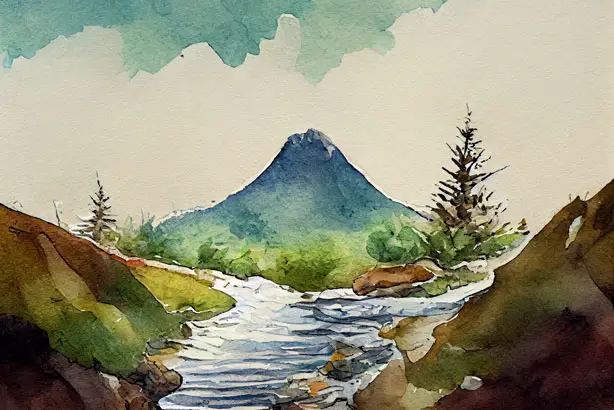
Using the same starting image, here are nine different aspect ratios so you can see the differences. I think visual examples are the best way to explain the differences. 😉
Portrait Prompt Parameters
--ar 9:16
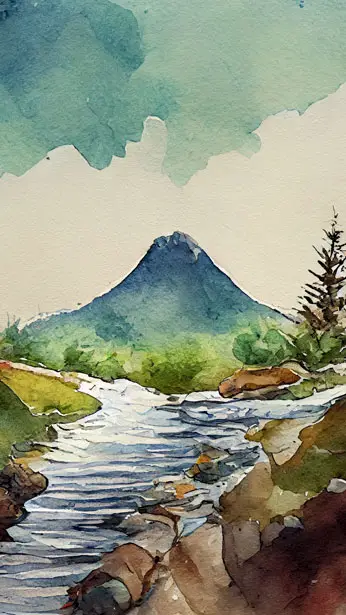
--ar 4:5
--ar 3:4

--ar 2:3
--ar 10:16 (great for photoshoots)
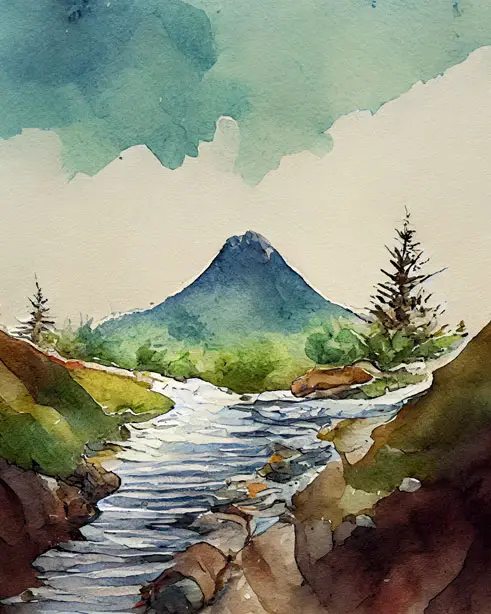
Landscape Prompt Parameters
--ar 16:9 (the most common widescreen format)
--ar 5:4
--ar 4:3
--ar 3:2
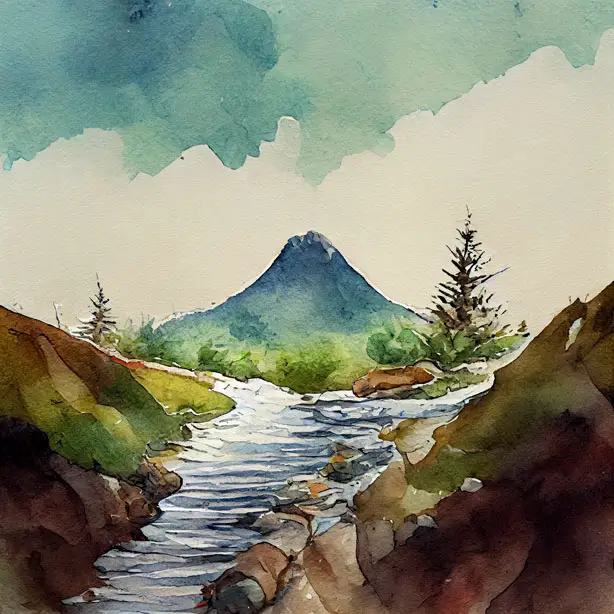
Square Prompt Parameters
MidJourney’s default size is square, equivalent to 1:1. If you don’t specify an aspect ratio parameter, you’ll get a square image. All of the examples above started with this perfectly square image before I cropped them into the various aspect ratios – this is the original.
Aspect Ratio Calculator
Need help figuring out the best aspect ratio for your project? Use my free MidJourney aspect ratio calculator:
I hope this helps you create better MidJourney art!
As you can see from the examples, choosing the right aspect ratio makes a difference in how much of your image shows up. MidJourney aspect ratio also affects which elements in the scene get focused on the most. Where do you want to lead the viewer’s eye?
In summary, rather than merely the size of the overall image, MidJourney aspect ratio changes the composition. Experiment with your images and see how creative you can get with these different aspect ratios. Have fun!
Need to know common social media and design aspect ratios so you can use them in your MidJourney prompts? Check out my Standard Aspect Ratio Guide, which covers all the major social media platforms, photography, and graphic design projects with visual examples.
PS. Don’t forget to download my free MidJourney prompt writing worksheet while you’re here.
Bonjour, apparemment la version 4 ne permet plus le format 9:16, sauriez vous par quoi le remplacer ? Je cherche un peu partout mais ne trouve pas. Le format 2:3 n’est pas assez haut et il est le seul accepté hormis celui de base.
Merci d’avance pour votre réponse 🙂
Yes, you’re right; thanks for bringing this up! In fact, I think I’ll do a new post on it.
V4 isn’t complete yet. During one of the recent MidJourney office hours meetings, they said that increased aspect ratios are coming, and they’re working on it. There wasn’t a definite date given (as of today).
In V4, using a 3:2 aspect ratio, the final render in basic quality is 1536 x 1024. This will print up to an 8×10 in good quality, but no bigger, without resizing it first. The render quality of V4 is also capped at the basic (–q 1) level, so maximum quality upscales are not possible yet, either.
In the meantime, to create larger images, you can either revert to using V3 or use an external program like Photoshop or ON1 Resize to resize them. For example, I created an image using V4 in a 3:2 aspect ratio. I then used ON1 to increase the size to print a 16×20 poster, and it looked amazing once printed and framed.
You could also try the steps below to get a bigger size. However, you’ll lose some details and get a slightly different style. It could work for some images but not others depending on the look you’re going for.
Option 1: Follow these steps to get a 2304 x 1536 image size.
1) Create in V4
2) Do a V4 upscale
3) Do a “Beta Upscale”
Option 2: You can manipulate the system into giving you a 1920 x 1280 by following these steps:
1) Create in V4
2) Do a V4 upscale
3) Do a “Light Upscale Redo”
4) Do an “Upscale to Max”
I hope that helps somewhat! V4 definitely isn’t perfect yet, but it’ll be exciting when it is. Have a great day!
Please see the update I posted at the beginning of the article regarding generating larger aspect ratios and higher resolution images in MidJourney v4 and niji. 🙂
Thank you so much! this was so helpful for me!
Yay, I’m glad it helped! You’re very welcome!
Hello. I’m unable to create 9:16 image. please help. I use –ar 9:16 parameters still didn’t work. HELP!!!!
Hi Natalia,
I just tried a prompt and was able to generate 9×16 images. I wanted to make sure that there wasn’t a bug in MidJourney right now.
A couple of ideas to check:
1) Make sure your formatting is correct; that you have a space after your prompt text before entering –ar 9:16
2) Check on which version of MidJourney you’re using. You can do this with the command /settings
Hope that helps!
Hello!
I am new at midjourney and trying to create a high-resolution image for a youtube video. The image is not as crisp as I want. Am I doing it the correct way?
sharing my prompt here:
A cozy Spacious room with a big fireplace in the center, Grand Rustic, Comfortable, Medieval Period, Cozy, Crackling, Roaring, Radiant, Soothing, Nostalgic, Woodsy, Relaxing, Hearth, Mantel, Logs, Embers, Flames, Ashes, Hearth rug, Armchairs, Couch, Ottomans, Coffee table, Rug, Artwork, Decorative objects, Candles, Lamps, Reading nook, Books, Magazines, Board games, Snacks, Drinks, Hyper Detail, 8K, HD, –v 4 –ar 3:2
Thank you
Hi Adil, love your prompt!
Personally, I’d generate it in a 16:9 aspect ratio since it’s for YouTube. You’ll get a little more screen space and details that way. I’ve done many for YouTube in this setting, and they look okay at HD video quality. For example: https://www.youtube.com/watch?v=uzxXM9zKO_o&t=5s (all images by MidJourney)
I have a couple things you could try to get clearer images:
1. You could render it at 2x quality. Keep in mind 2x quality renders are charged double credits. To do that, add –q 2 at the end of your prompt:
A cozy Spacious room with a big fireplace in the center, Grand Rustic, Comfortable, Medieval Period, Cozy, Crackling, Roaring, Radiant, Soothing, Nostalgic, Woodsy, Relaxing, Hearth, Mantel, Logs, Embers, Flames, Ashes, Hearth rug, Armchairs, Couch, Ottomans, Coffee table, Rug, Artwork, Decorative objects, Candles, Lamps, Reading nook, Books, Magazines, Board games, Snacks, Drinks, Hyper Detail –ar 16:9 –q 2
2. You could also prompt MidJourney to create a photograph to bring out more details:
Photograph of a cozy Spacious room with a big fireplace in the center, Grand Rustic, Comfortable, Medieval Period, Cozy, Crackling, Roaring, Radiant, Soothing, Nostalgic, Woodsy, Relaxing, Hearth, Mantel, Logs, Embers, Flames, Ashes, Hearth rug, Armchairs, Couch, Ottomans, Coffee table, Rug, Artwork, Decorative objects, Candles, Lamps, Reading nook, Books, Magazines, Board games, Snacks, Drinks, Hyper Detail –ar 16:9
Here’s an example of what that looks like:
I got more realistic results with this version of your prompt:
Interior design photograph of a cozy spacious Medieval room with a big fireplace in the center, Grand Rustic, Comfortable, Medieval Period, Cozy, Crackling, Roaring, Radiant, Soothing, Nostalgic, Woodsy, Relaxing, Hearth, Mantel, Logs, Embers, Flames, Ashes, Hearth rug, Armchairs, Couch, Ottomans, Coffee table, Rug, Artwork, Decorative objects, Candles, Lamps, Reading nook, Books, Magazines, Board games, Snacks, Drinks, Hyper Detail –ar 16:9
3. I suspect that adding some lighting options will bring out more details, too, since your scene is cozy and dark. Try words like “cinematic” and “golden hour” so you can keep your cozy feel while adding a bit more light.
4. I know you’re going for a crisp, clear image. Maybe upscaling your renders into high-resolution images will pull out more details? You’ll have to upscale it with a program like Photoshop or ON1 Resizer.
Here’s a video using a couple of versions of your prompt upscaled and sharpened using ON1 Resize: https://youtu.be/xIDkUEEAwmE
Hope that helps! If you figure out any other tips, please share. Have fun!!
Hello I enjoyed this article, thanks for taking the time to post it.
For someone like myself that needs to print posters with the highest quality at 12×18 and 24×36 which are both in the 2:3 aspect ratio, do you suggest I continue to use –v 4 –ar 2:3 and use a 3rd party program in post to enlarge and sharpen?
Currently my unedited exports from Midjourney are 1024 x 1536 in the 2:3 AR. Just trying to see if I can maintain that aspect ratio and get a higher quality output, so there is less up-scaling and sharpening required in post.
Dear Lisa, please answer
What version do you need to set the aspect ratio?
Hi Lisa,
Love your website. I am also having problems with size, trying to do ar 2:3 and it keeps giving me 1:1. I’ve done like 15 different art pieces and only two came out as 2:3. Suggestions? thanks in advance for your help!
Suzy
I am interested in making a poster with the AI roughly 36 inches x 36 inches, but when i blow it up it always is blurry is there any advice you could give me?
Thank you for the detailed explanation of Aspect Ratio as I was having issue with resizing the photos in the right way.
@Natalia
It is not –ar 9:16 it is supposed to be –ar 9:16